
A two-year air-layer project
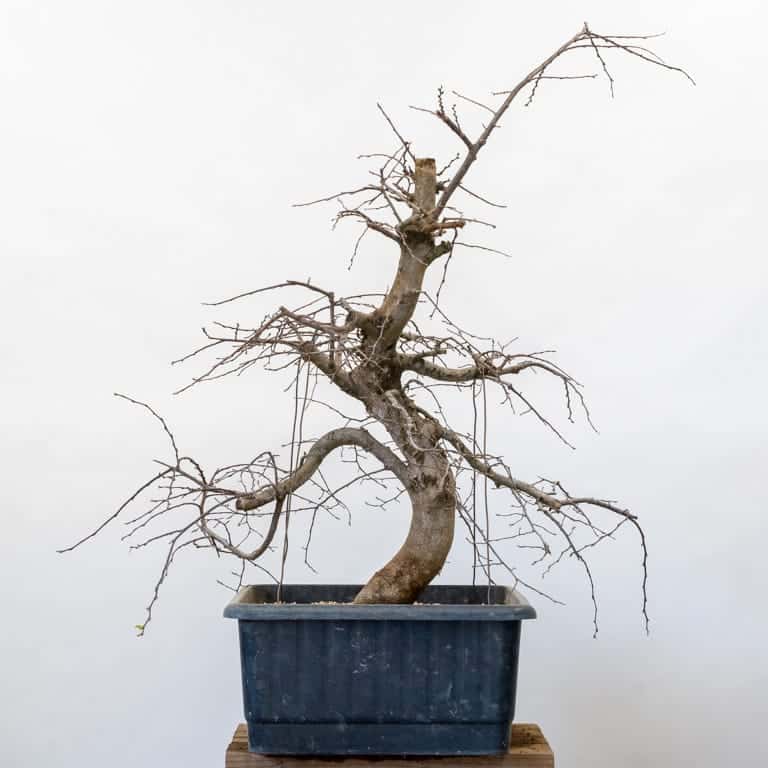
Two years ago, I picked up a field-grown Korean hornbeam salvaged from the fire that struck Telperion Farms in 2020. The tree had a fun trunk but there was room to improve the roots so I started an air-layer.
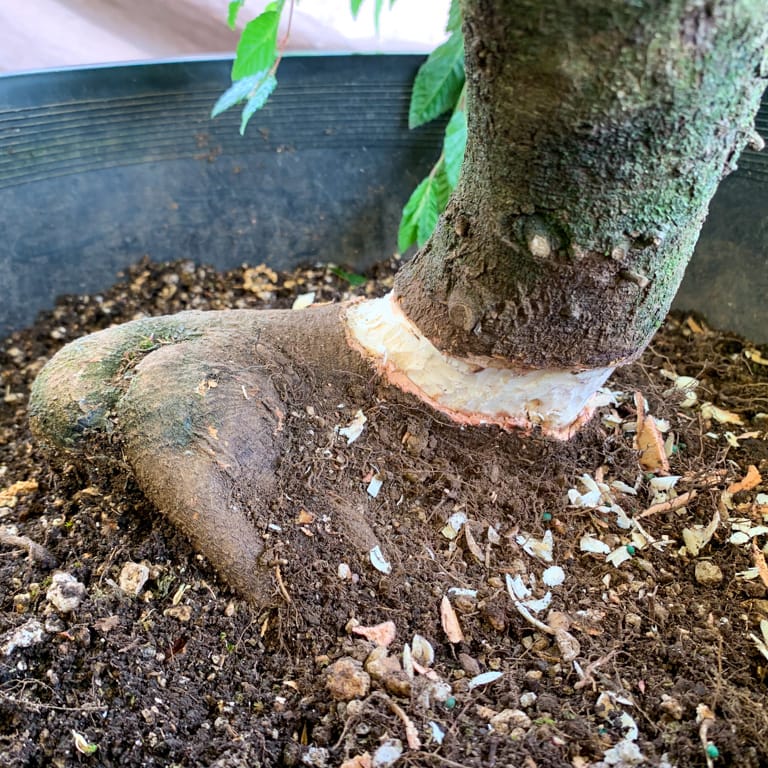
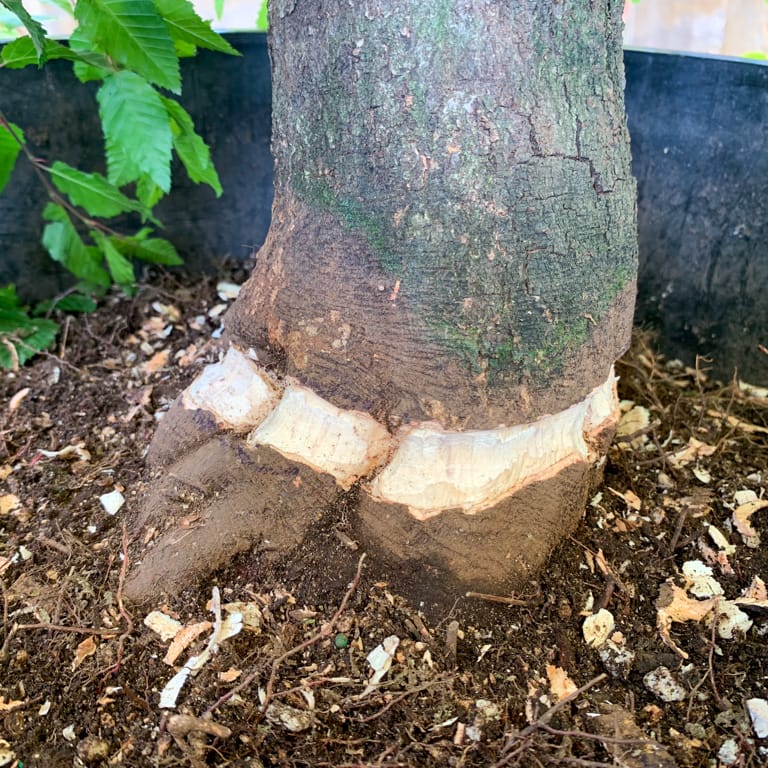
After making the cut
I’d just heard about an interesting approach to layering and wanted to give it a try. Rather than explain it, here’s a photo of the next step.
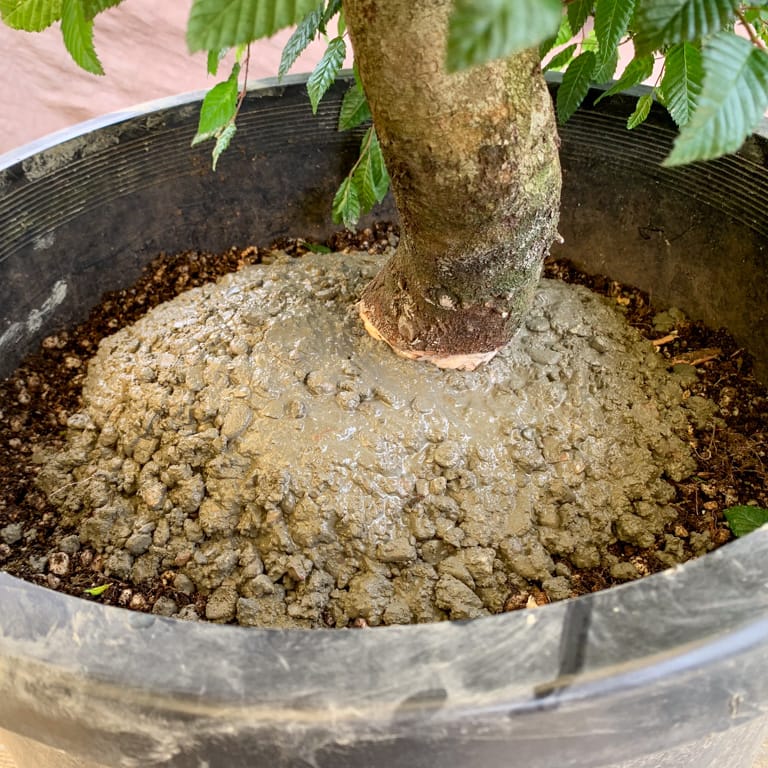
Fresh concrete around the base of the trunk
The previous year, Nao Tokutake had given this approach a try and claimed great success with it. But why use concrete to make the layer?
One challenge of ground-layering (air-layers at or near ground level) is that the old roots can grow up into the new soil around the layer making it hard to tell which roots belong to the layer and which to the rest of the tree. By using a layer of concrete, you can avoid this problem by creating a solid barrier between the new and old roots.
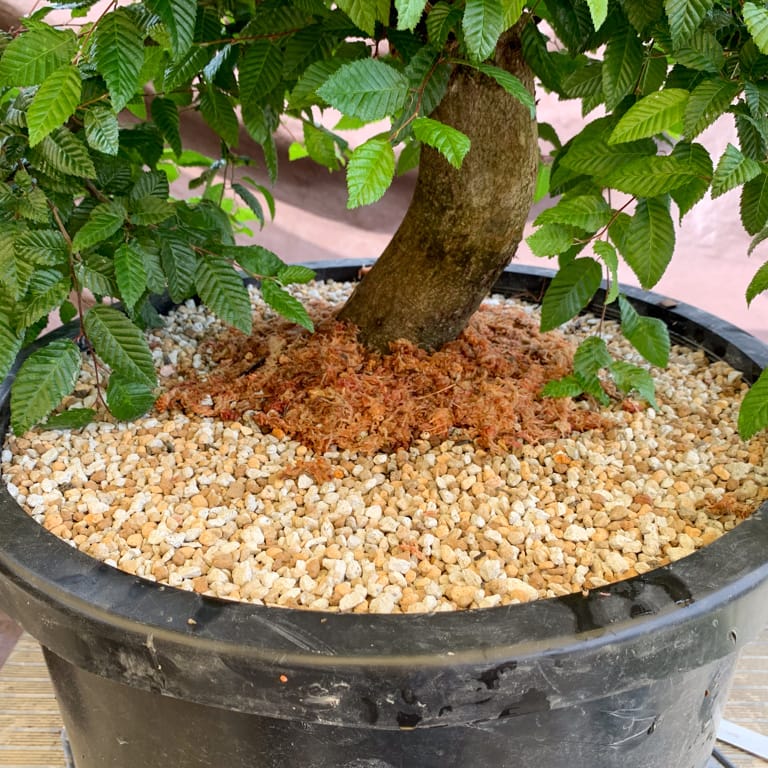
After pouring the concrete, I added a layer of moss to preserve extra moisture where I hoped the new roots would grow.

White sphagnum moss
The last step was to fill the pot with fresh soil.
Initial work complete
The one step I’d skipped was adding root hormone around the cut. Nao didn’t remember using it and he had such good results that he didn’t expect it was necessary. I was curious so I tried it that way.
I’d started the layer in May as it’s a great month to start layers. The following winter, I took a look at the roots. As luck would have it, there were very few roots! The standard approach in this case is to reopen the cut area (while preserving at least some of the new callus) and apply root hormone.

Root hormone around the cut site
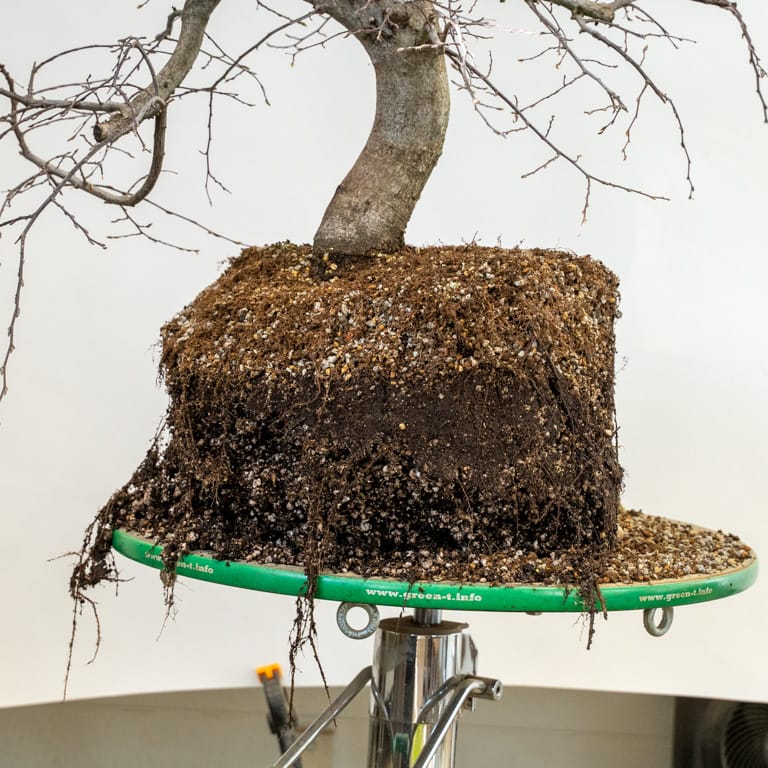
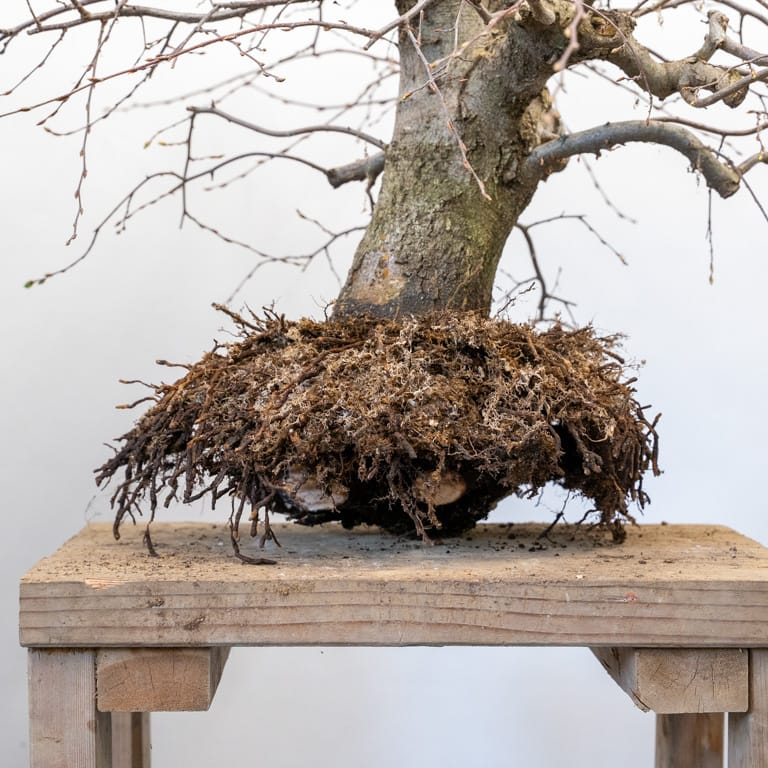
I reapplied moss and soil and gave the tree another year to grow. It didn’t grow much, but it stayed healthy. When the tree started to wake from dormancy in early April, I removed it from the pot.
New soil and old soil
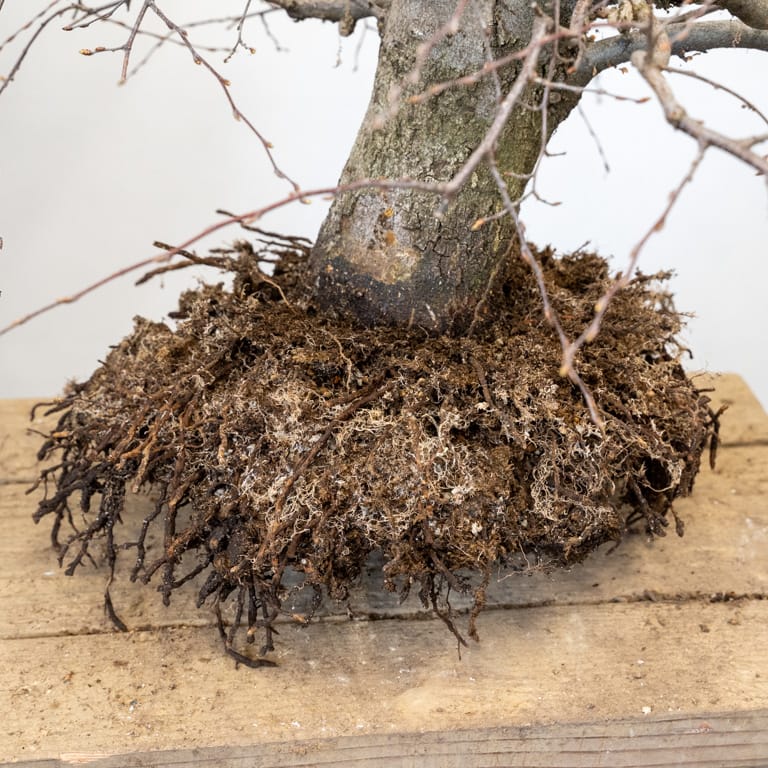
After chipping away at the old roots for a few minutes, it became clear why the tree hadn’t grown much – the tree had almost no roots at all!
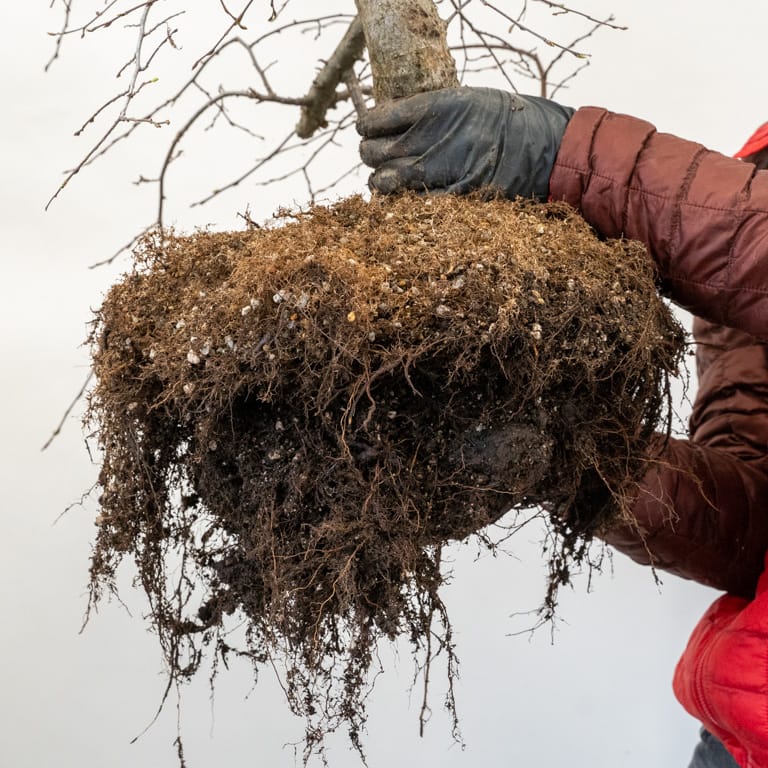
Healthy new roots above a few straggly old roots
(Thanks for the help Steven!)
It hadn’t occurred to me when I started the layer in 2022 that the tree didn’t have many roots as it was healthy and pushing new shoots, but it turns out the tree was growing from its reserves and not from a healthy root mass. I’m usually more conservative about getting trees healthy before starting layers, but I was curious to try a new technique and figured the tree was strong enough to push new roots with or without many roots. Knowing what I know now about the process, I’d still proceed with the layer, but I’d be sure to use rooting hormones.
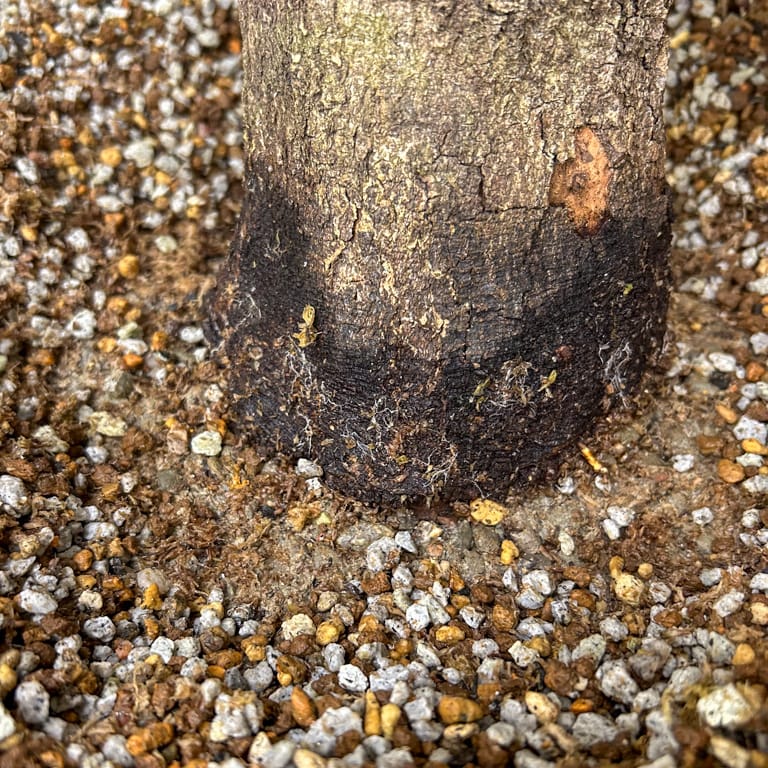
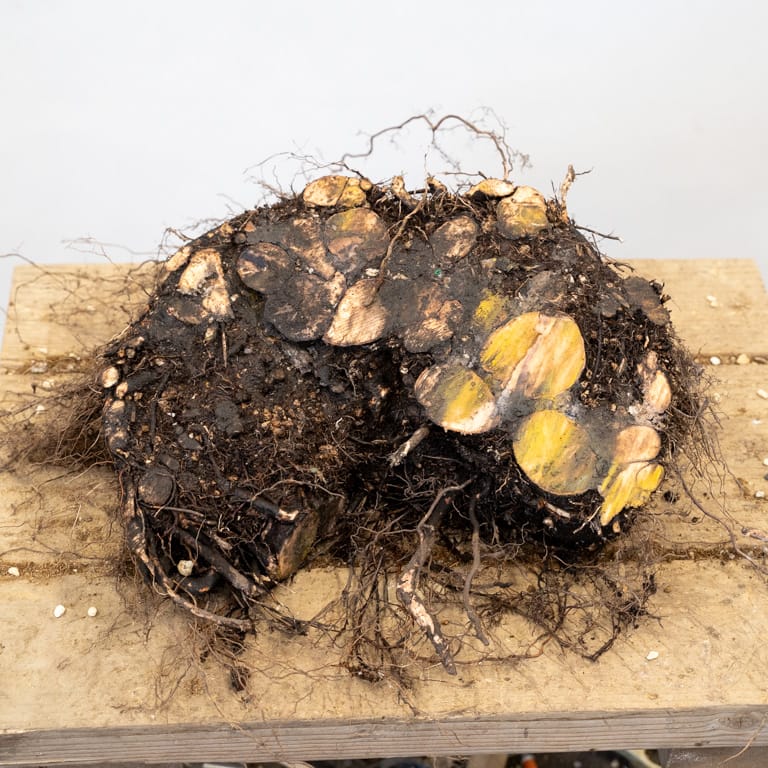
The next step was to remove the giant taproot with a reciprocating saw. With the big root gone, it was easy to see the concrete disc supporting the new roots.
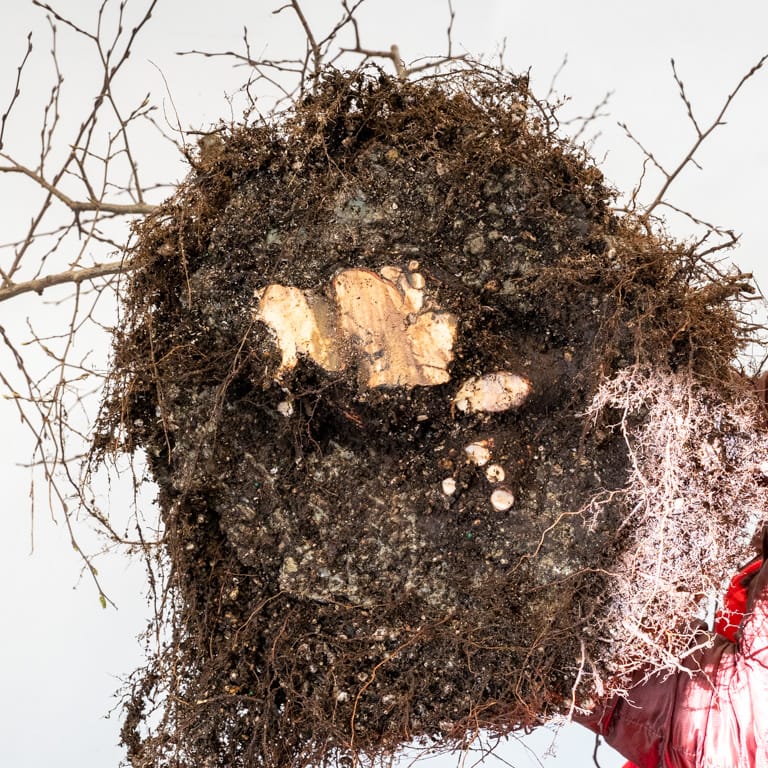
Concrete collar around the cut taproot
I chipped away at the concrete with a two pound hammer and chisel to reveal a mat of fine roots.
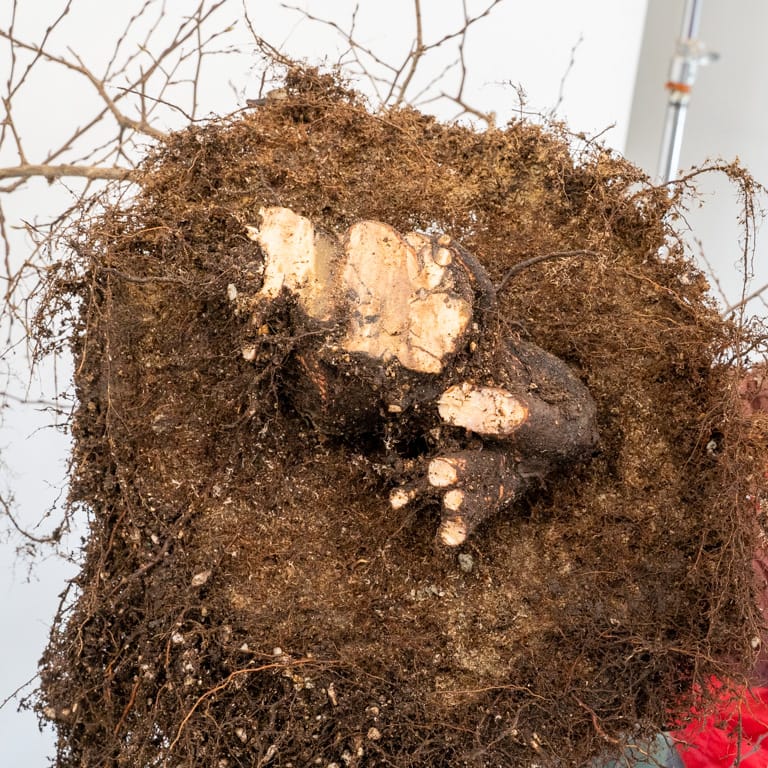
After removing the concrete
New roots
I left the base of the taproot for the time being as it’ll support the weight of the tree in the pot. I can remove it in a few years once the new roots are better established.
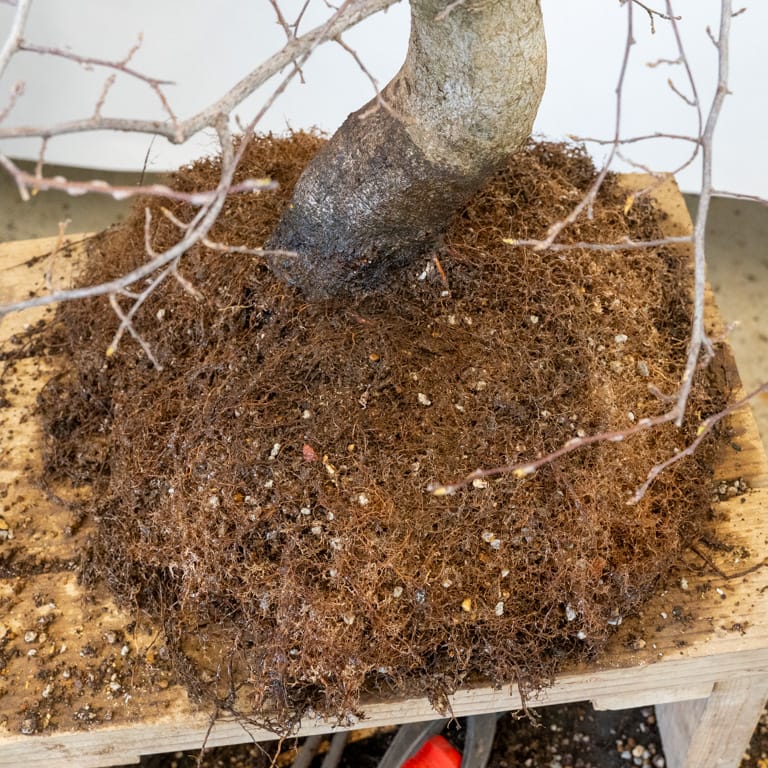
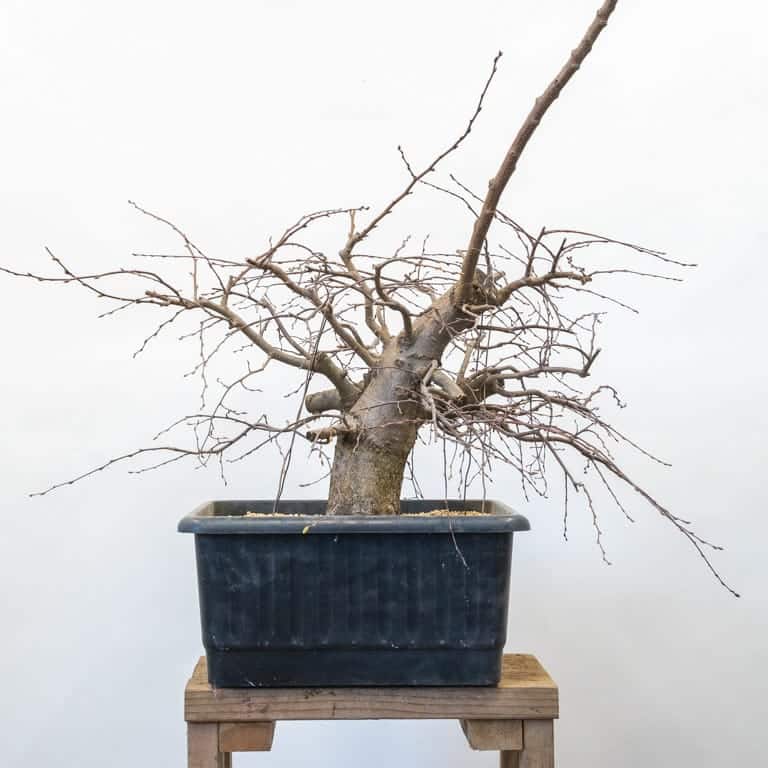
Here’s the tree after repotting it in a plastic container.
Repotting complete
Because trying a new technique on just one tree isn’t much of an experiment, I decided to start two at the same time. The process, and results, were similar.
The second layer
A single new root
After separating the layer one year later
The roots were far more coarse on the second tree – I’m not sure why – and fairly well distributed around the trunk.
New roots
Removing the old roots on the second tree was a chore even with the help of the reciprocating saw.
Old roots
Repotting complete
Although it would have been possible to create bonsai with the original roots on these trees, by layering them, I have far more options when it’s time to find the front of the trees, let alone find containers for them!
To help the new roots get established, I’ll let the trees grow freely for a year or two and will put off repotting for two to three years. Styling can begin when the trees show signs of vigor, possibly within one or two years.